This article shows basic information about a Pi Camera, such as how to assemble and how to use.
Contents
- How to assemble a Pi Camera
- How to attach a Pi camera to a Raspberry Pi
- How to take still pictures with Pi camera
sponsored link
Bought Pi Camera : LABISTS camera module
I bought a Pi Camera made by LABISTS.
Camera Specifications
Manufacturer : Omnivision
Model Number : OV5647
Number of pixels : 5 megapixels (2592 x 1944)
Frame Rate : 15fps (5 mega)、30fps(1080p)
sponsored link
How to assemble a Pi Camera
Using the LABIST Pi Camera module as an example, I will show how to assemble a Pi camera.
If you are not interested in assembling a Pi camera, please skip this section.
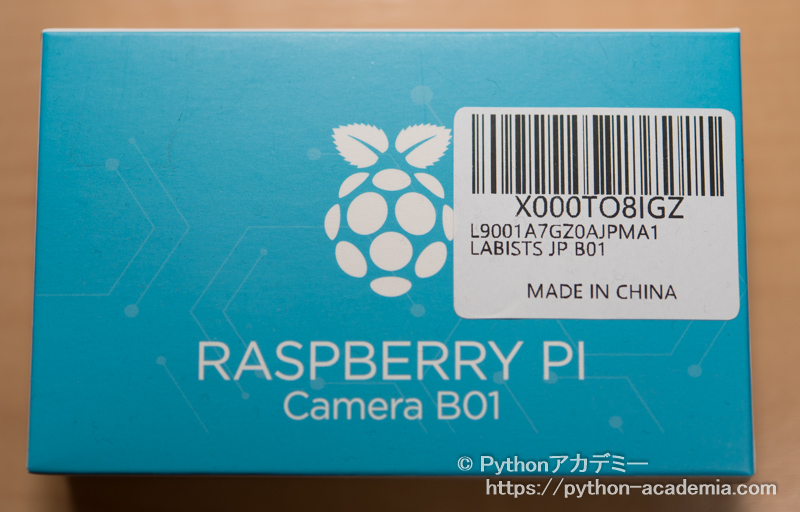
Here is the Pi Camera box made by LABISTS.
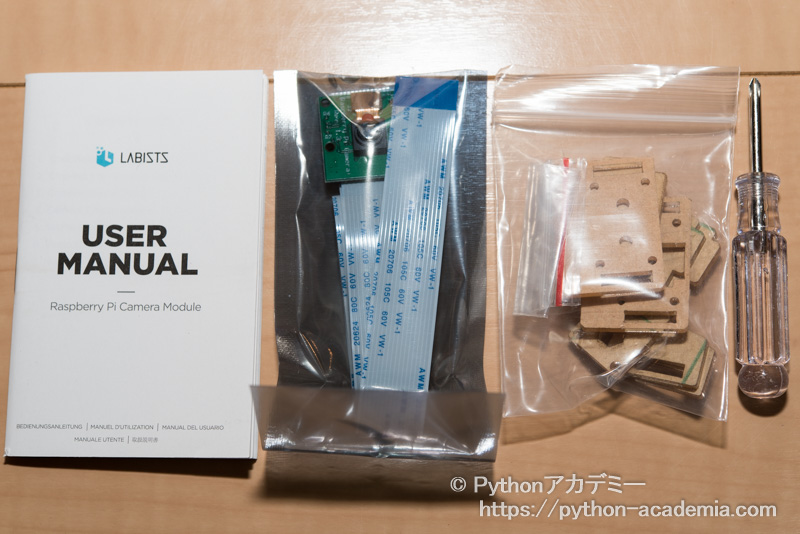
Here are the contents of the box.
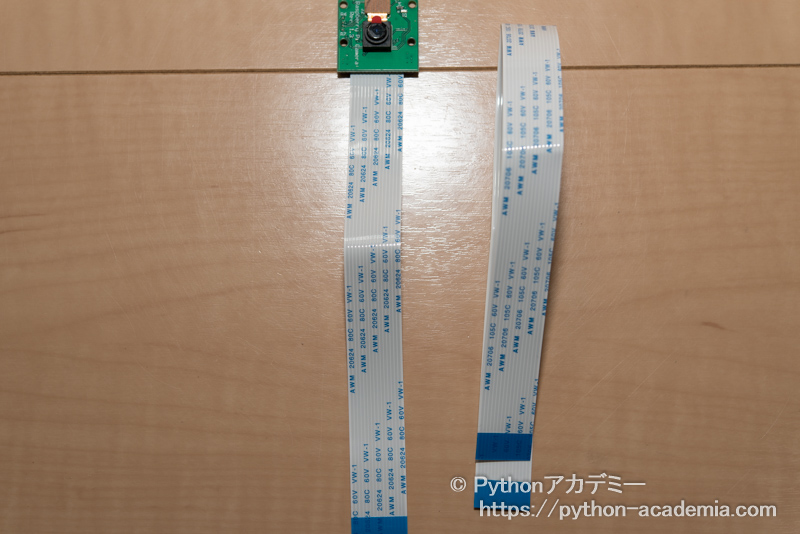
Two cables of different lengths are included.
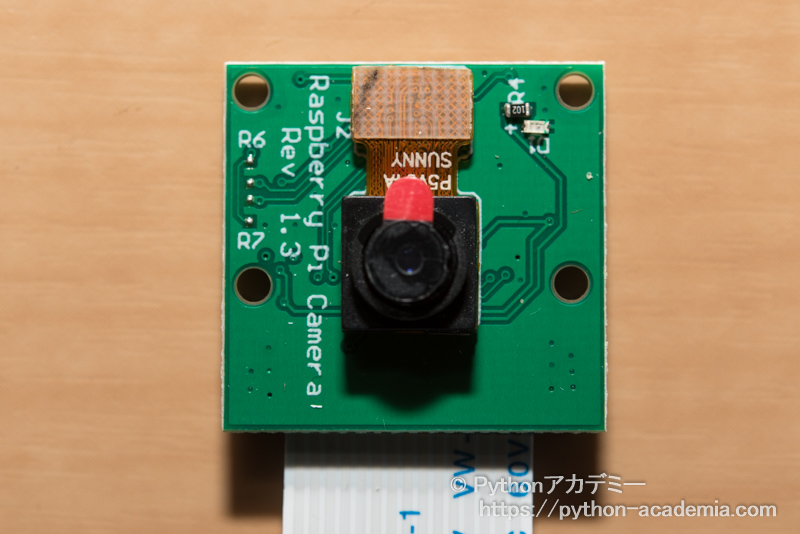
Enlarged view of the camera.
Parts required to assemble the camera mount.
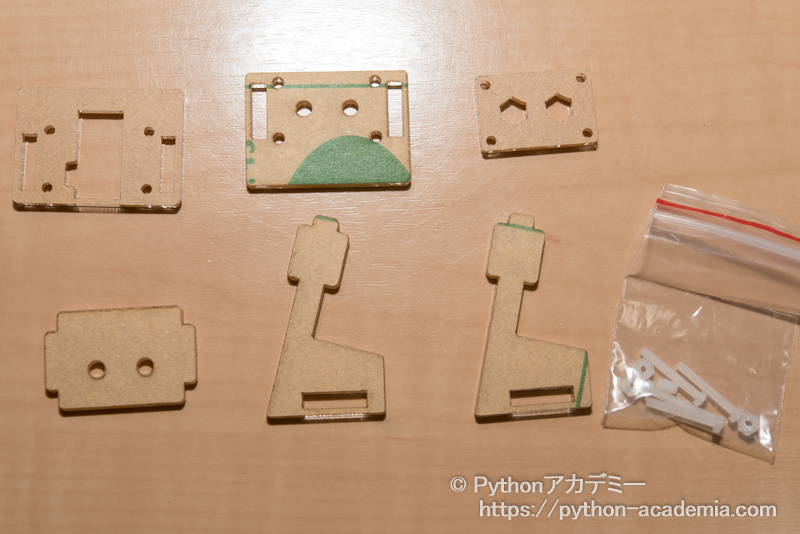
Protective sheet of the part is removed.
First, assemble the mount.
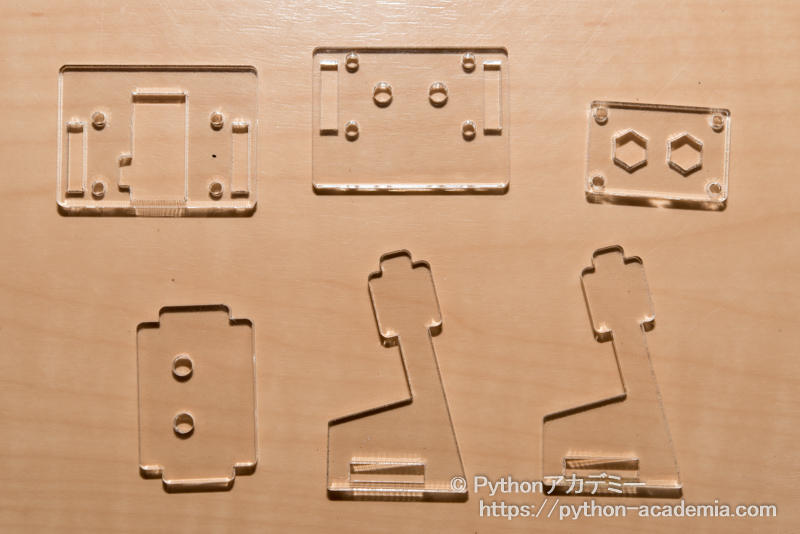
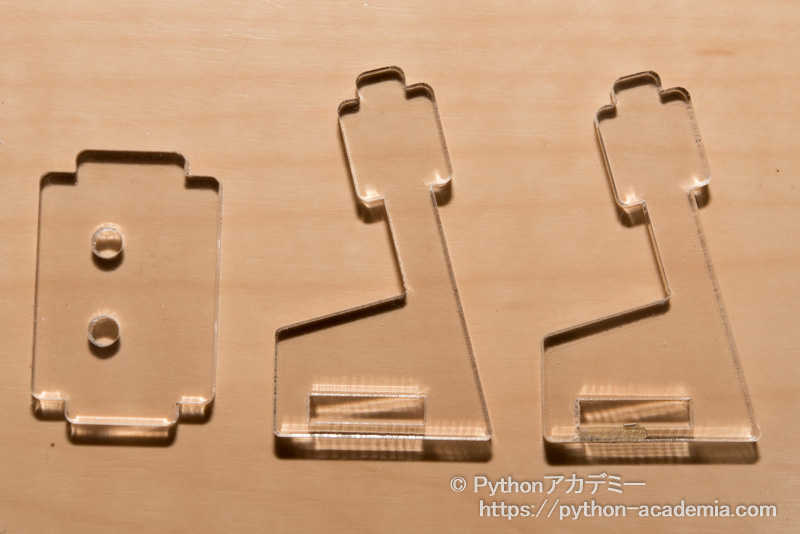
The three parts required to assemble the mount are shown here.
It is assembled in this way.
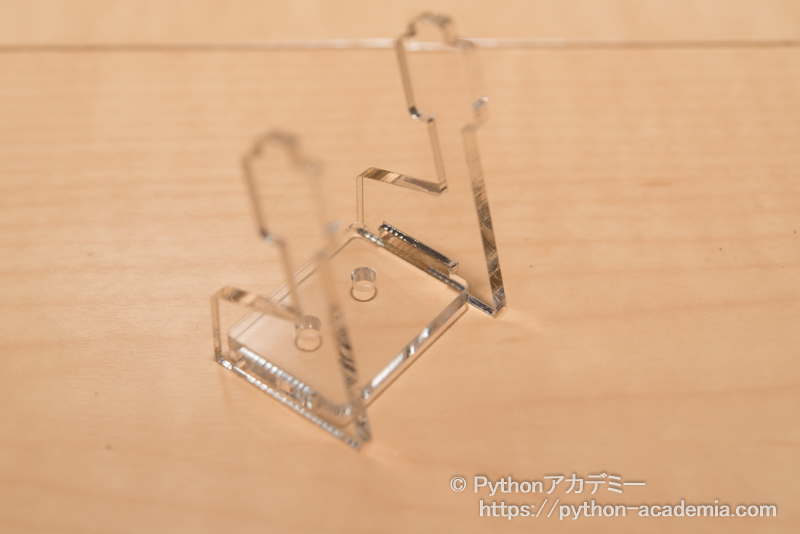
Fit another part into the protrusion at the top of the mount.
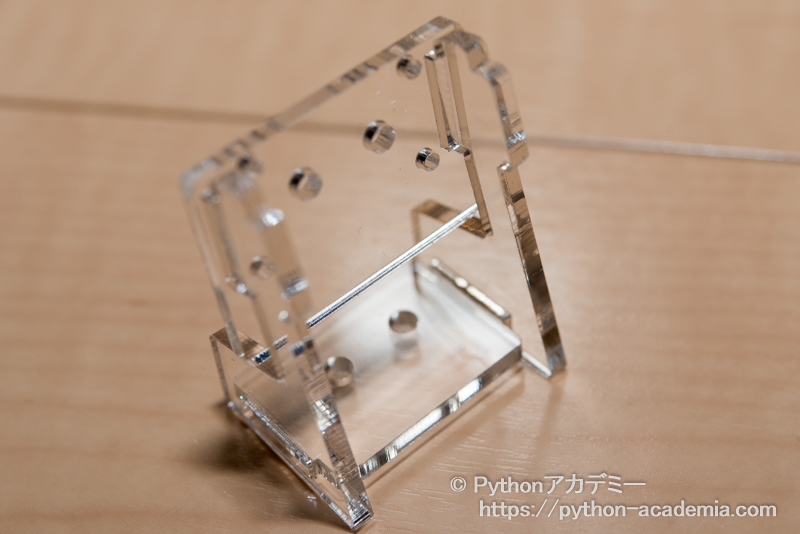
Fit the remaining parts into the front protrusion.
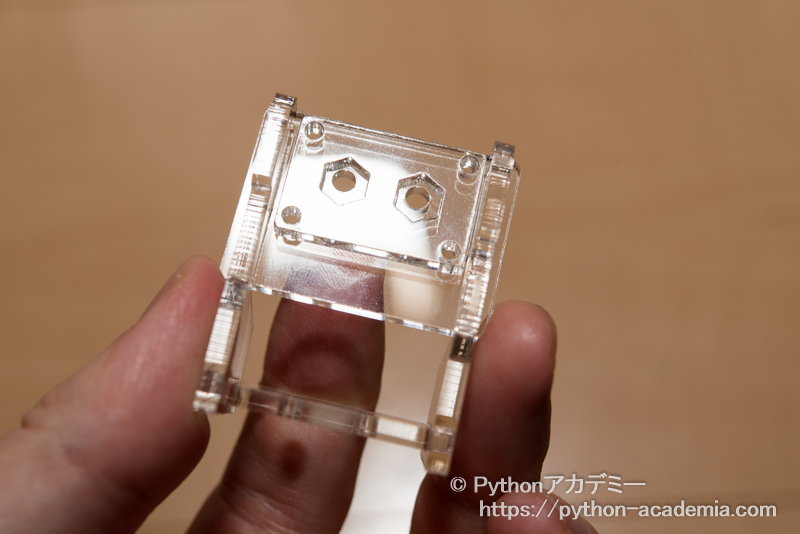
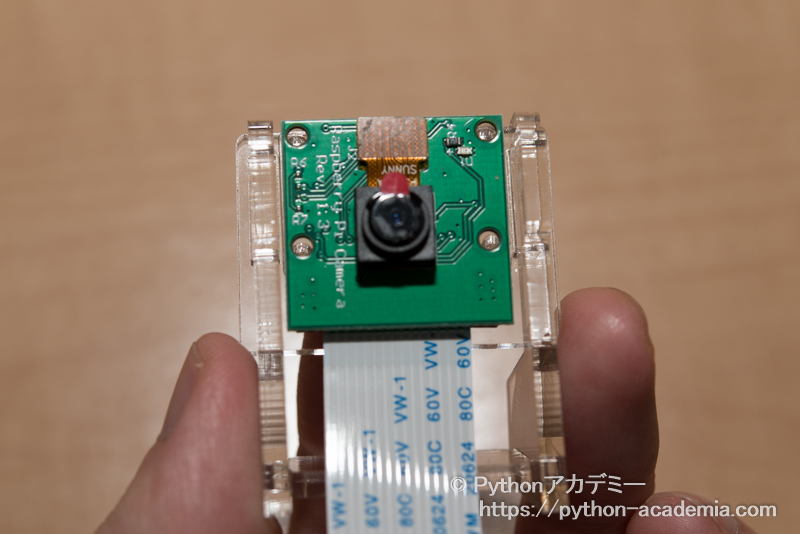
Align the screw holes and fix the Pi Camera.
sponsored link
How to attach a Pi camera to a Raspberry Pi
I show how to attach a Pi camera to a Raspberry Pi.
The arrow in the photo indicates the location where the Pi Camera be installed.
It says "CAMERA" there.
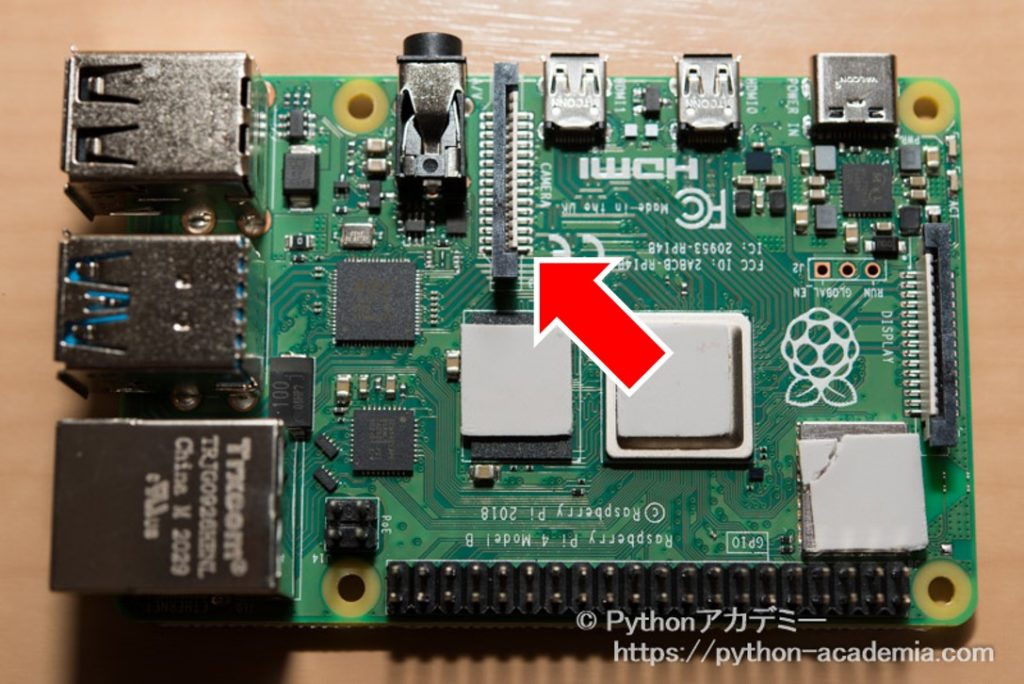
Lift up the socket on the Raspberry Pi to insert Pi camera cable.
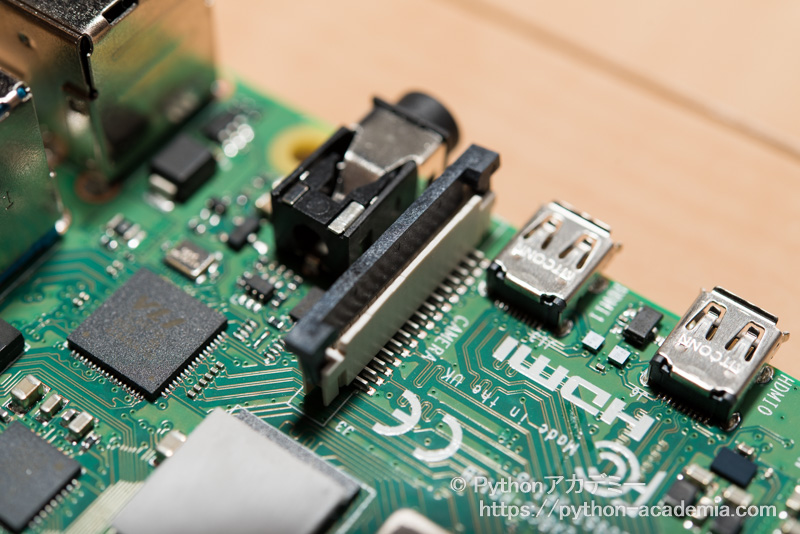
Insert the cable into the socket, making sure that the metal terminal of the cable of the Pi Camera is facing the metal terminal of the socket of the Raspberry Pi.
Push in the black pawl on the socket to fix the cable.
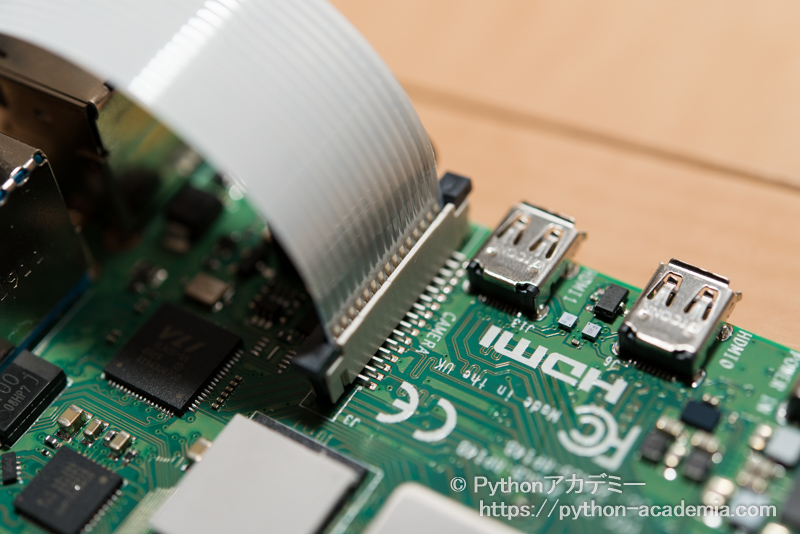
Here is a view of the Pi camera mounted on a Raspberry Pi.

sponsored link
How to take still pictures with Pi camera
I show settings of the Pi Camera and how to take still pictures.
Enable communication with the Pi Camera
Change the settings so that Raspberry Pi can communicate with the Pi Camera.
Go to "Preferences" > "Raspberry Pi Configuration".
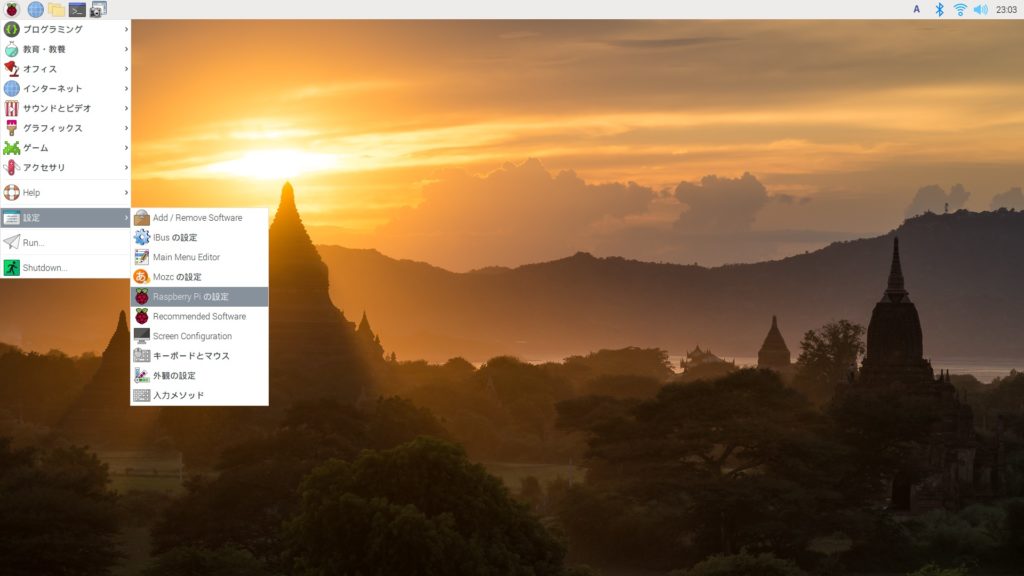
( Sorry, Japanese is included. )
On the Interface tab, enable "Camera".
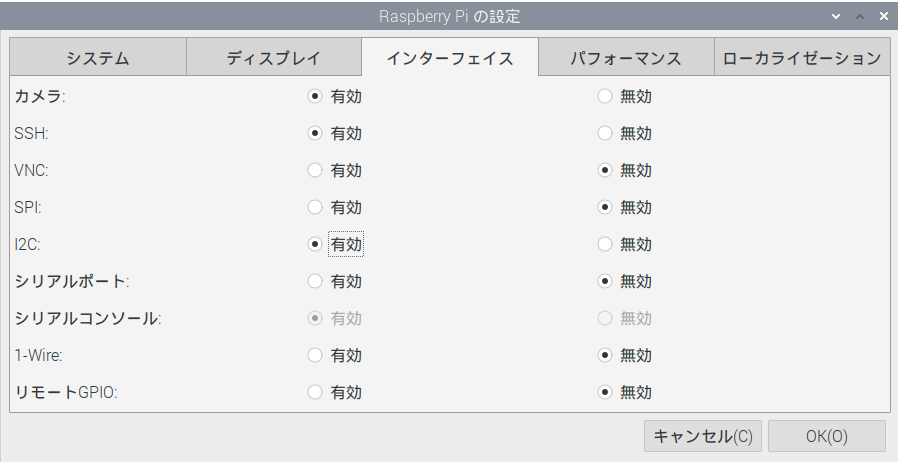
( Sorry, Japanese is included. )
Reboot the Raspberry Pi.
Taking a still picture (1) : Shooting by using the terminal
I show how to take a still picture by using the terminal.
Enter the following command in the terminal.
$ raspistill -o image.jpgIf the picture is captured, it is a success.
The captured "image.jpg" is saved in the folder "home/"user"".
By the way, videos can be taken with the following command.
$ raspivid -o video.mp4Taking a still picture (2) : Shooting by using Thonny
I show how to take a still picture by using "Thonny", Integrated development environment for python.
As an example, I show how to display Live View for 3 seconds and take a still image by using Pi Camera.
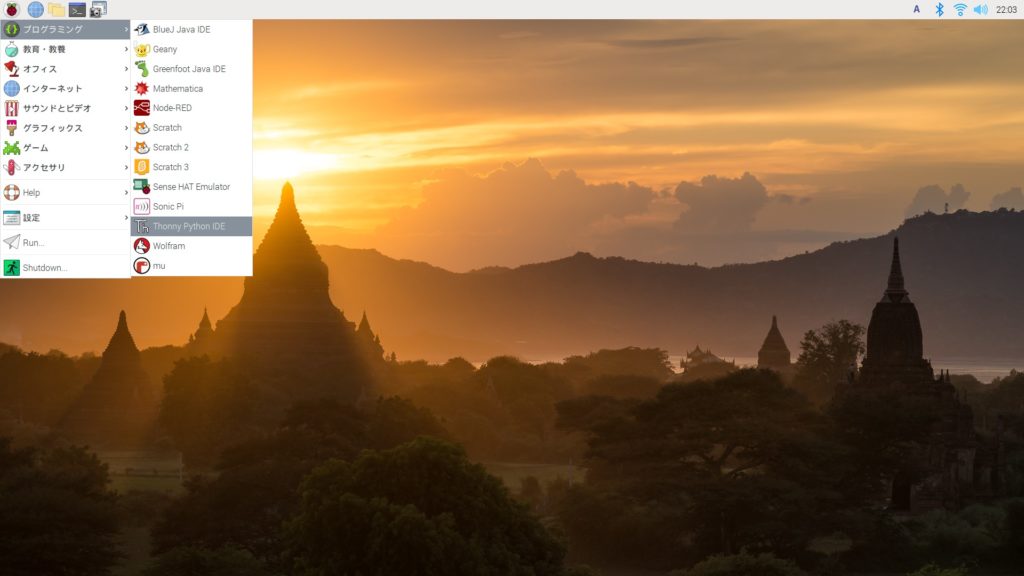
Launch "Thonny".
Save the following code as "camera_test.py" by using thonny.
Enter your own Raspberry Pi environment in the "user " location in the code below.
### display Live View for 3 seconds and take a still image
from picamera import PiCamera
from time import sleep

camera = PiCamera()

camera.start_preview()
sleep(3)
camera.capture('/home/"user"/image.jpg')
camera.stop_preview()
Press the "Run" button to execute.
The following commands can be used to force quit the program.
「Ctrl」+「Alt」+「Delete」
sponsored link